Setup a web server in eclipse.
Part 2: exploring the plug-in nature of the server.
Table of content:
5. Creating a second web project
Let's create another web project. It will be mapped to the same web address space. We will make the same steps as we have done for creating the first project.
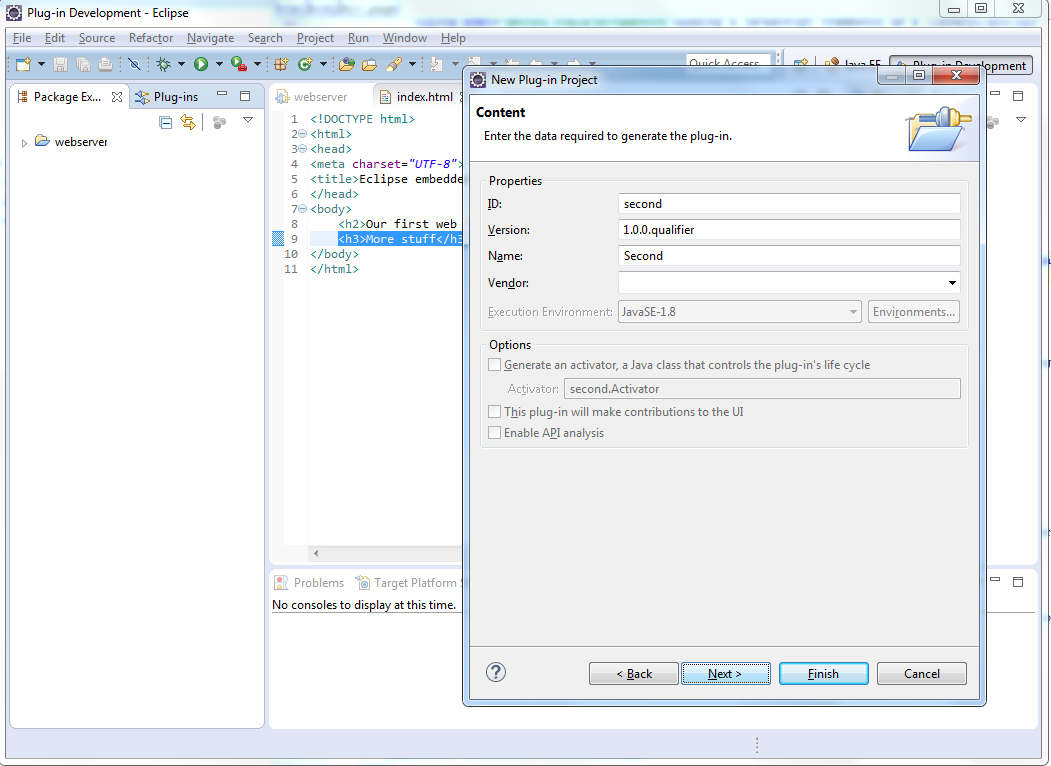
Create a Plug-in project.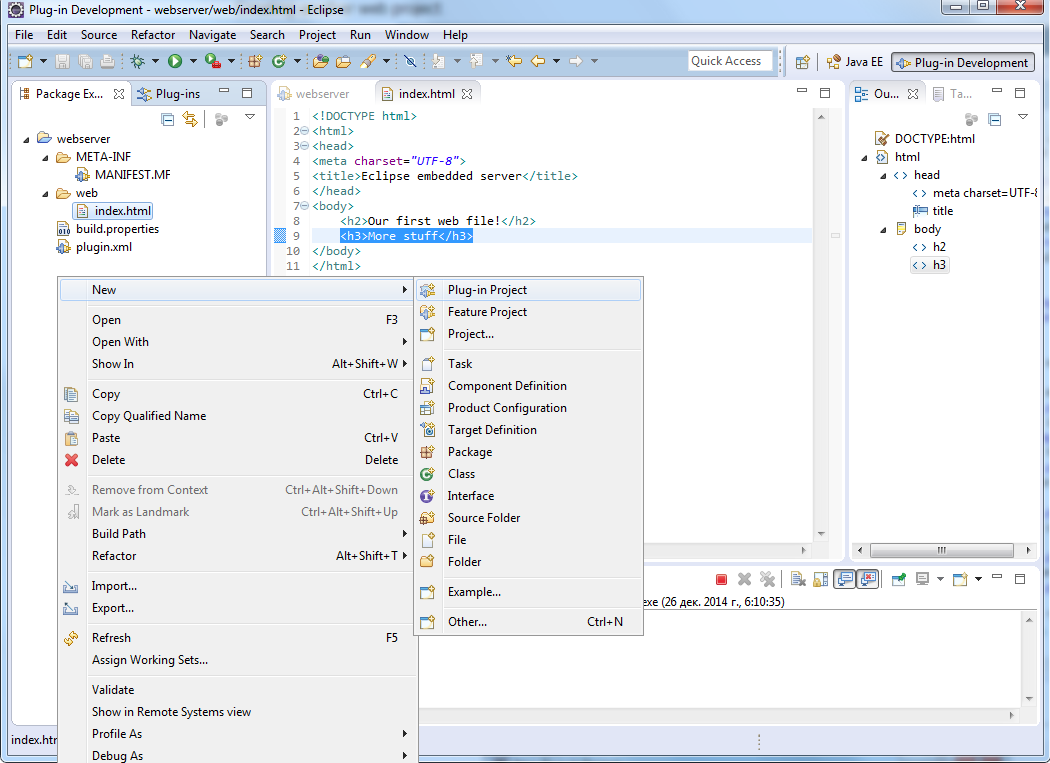 Name it second. Uncheck Create a Java project checkbox.

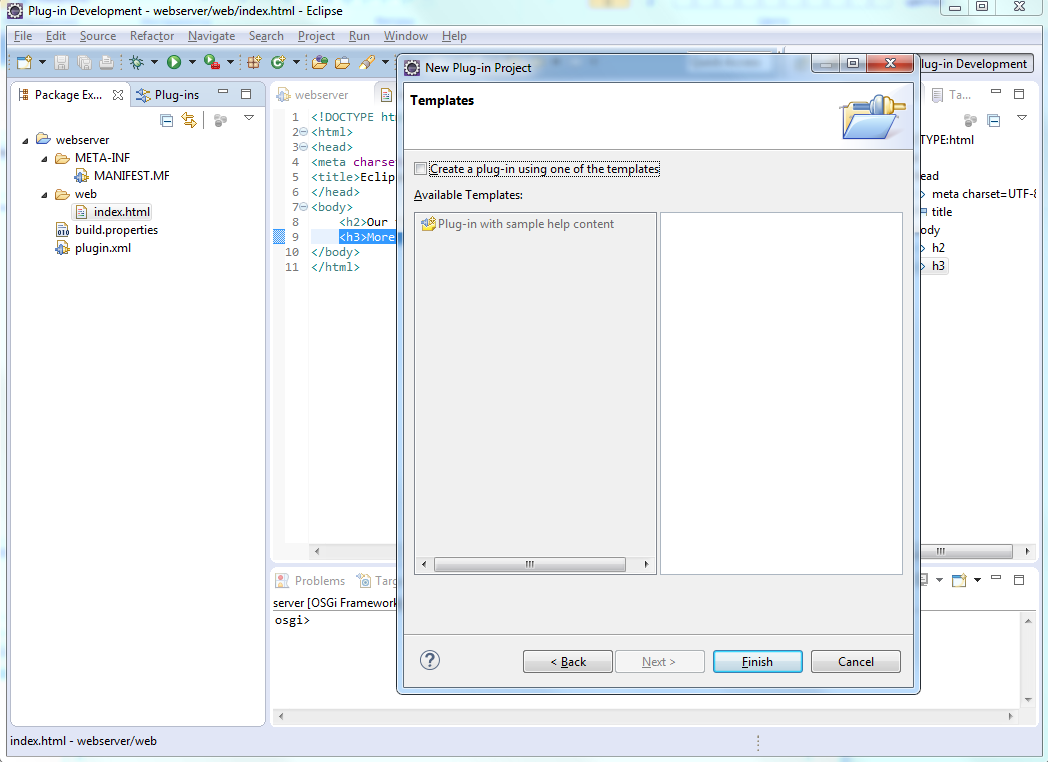
 Uncheck Create a plug-in using one of the templates checkbox
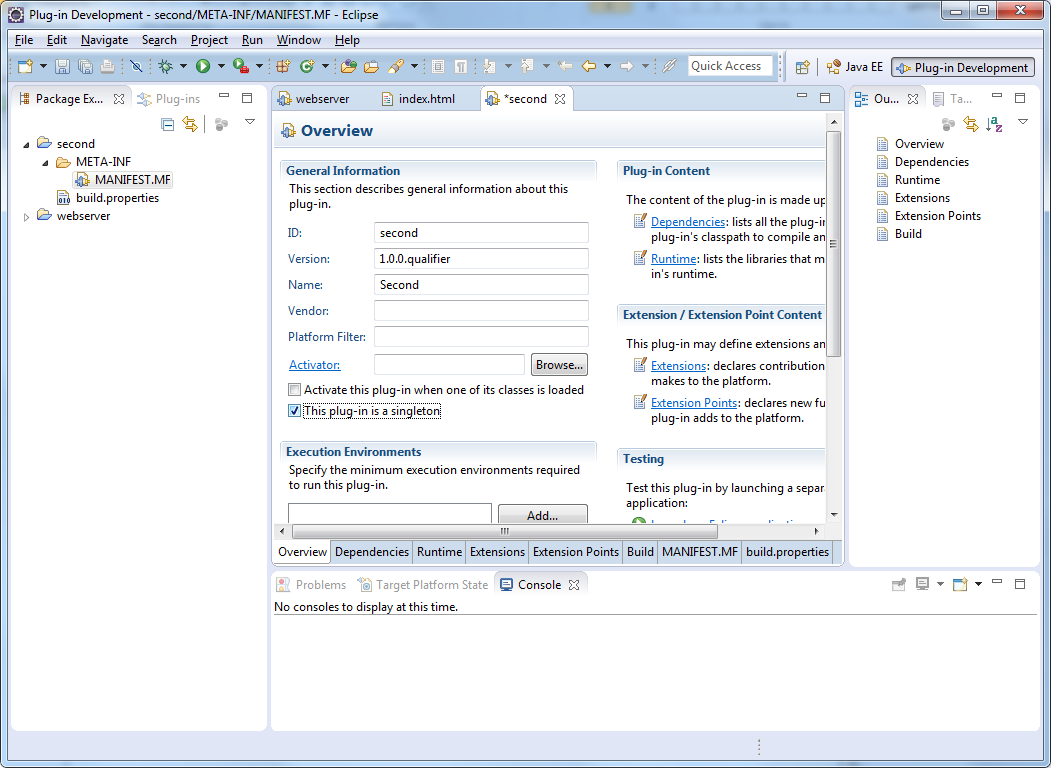
 A web plug-in project have to be a singleton, so check This plug-in is a singleton checkbox.
 To simplify the creation of the new project we'll just copy the settings file
(plugin.xml) from the existing project to the new one.
Copy plugin.xml file from the existing project (server) into clipboard.
To simplify the creation of the new project we'll just copy the settings file
(plugin.xml) from the existing project to the new one.
Copy plugin.xml file from the existing project (server) into clipboard.
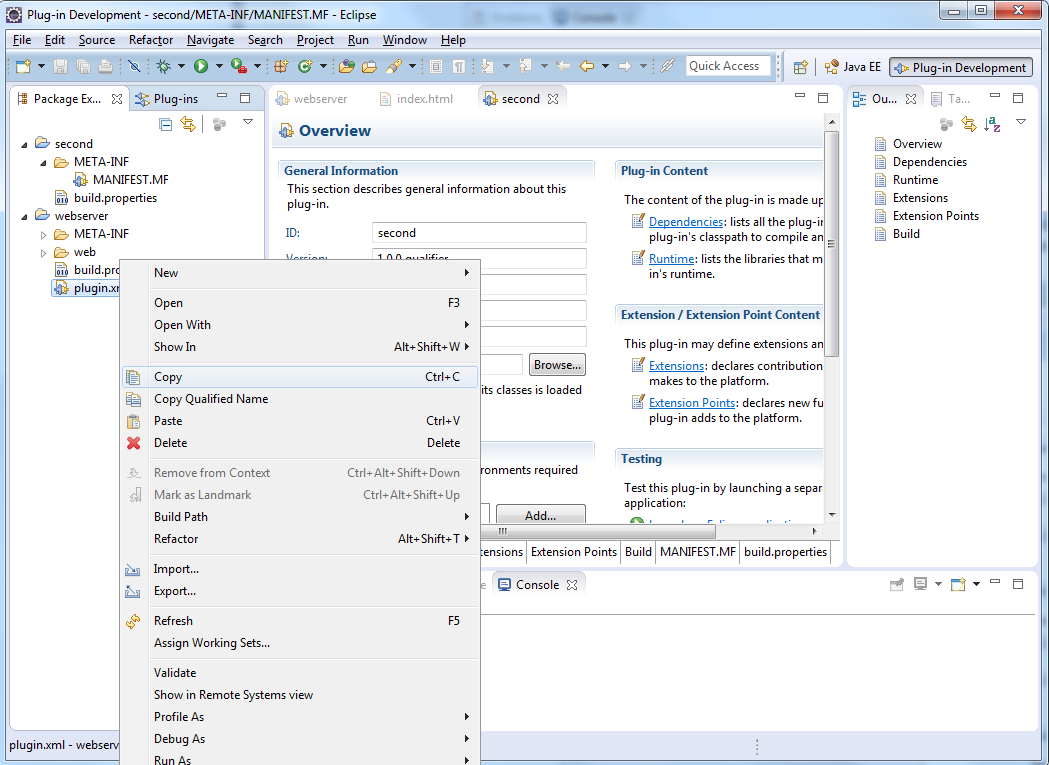 And paste it to the new project.
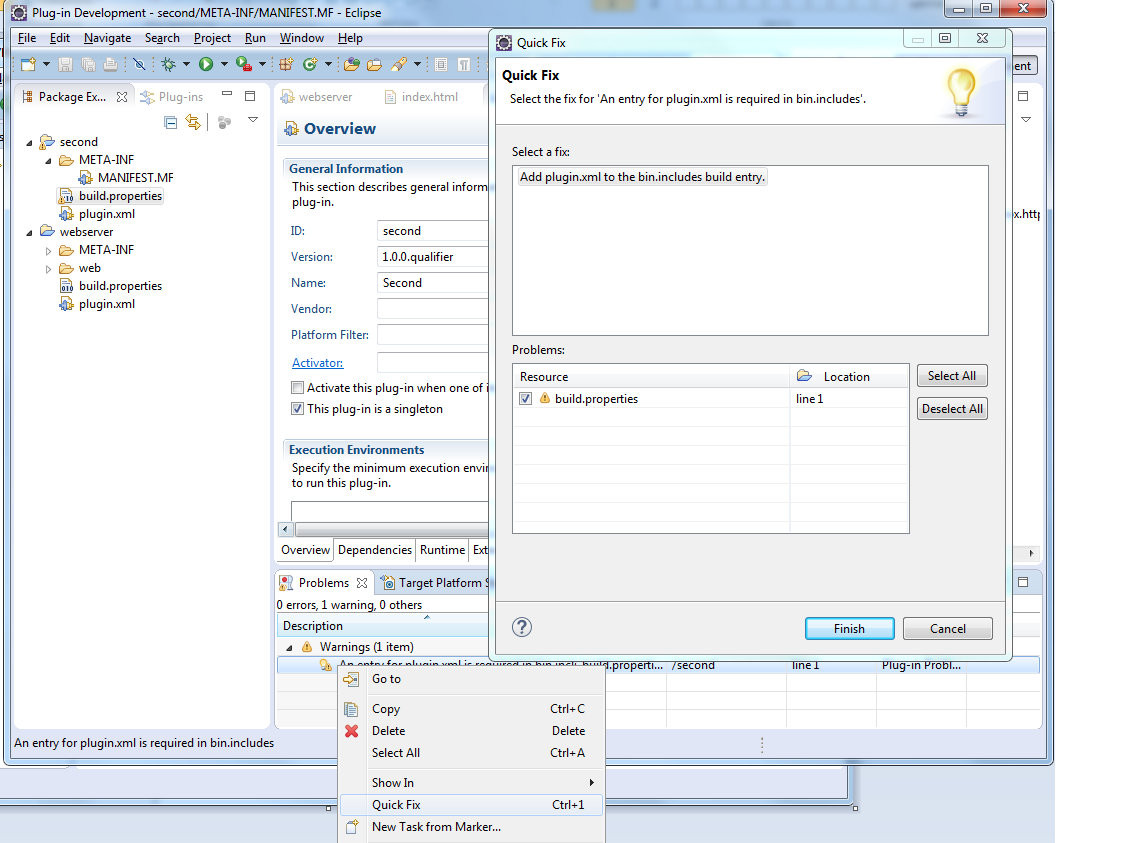
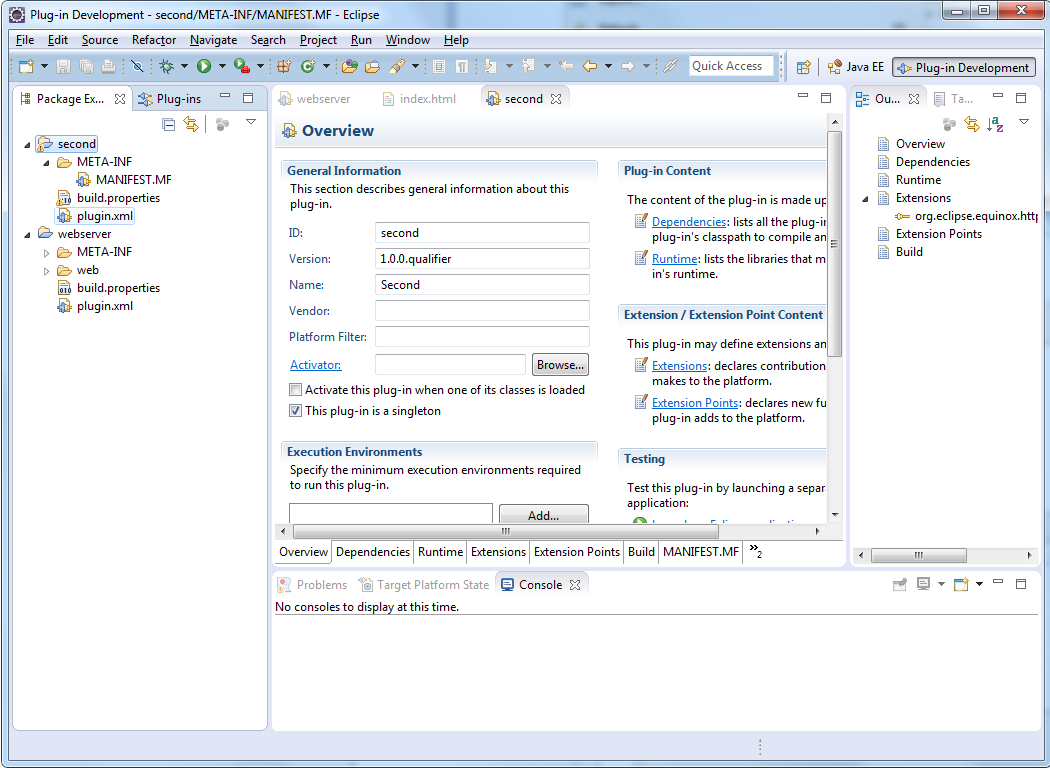 Note there appeared a warning in the Problems tab. We should fix it.
Right click on the warning, then select Quick Fix. Then click Finish .
Note there appeared a warning in the Problems tab. We should fix it.
Right click on the warning, then select Quick Fix. Then click Finish .
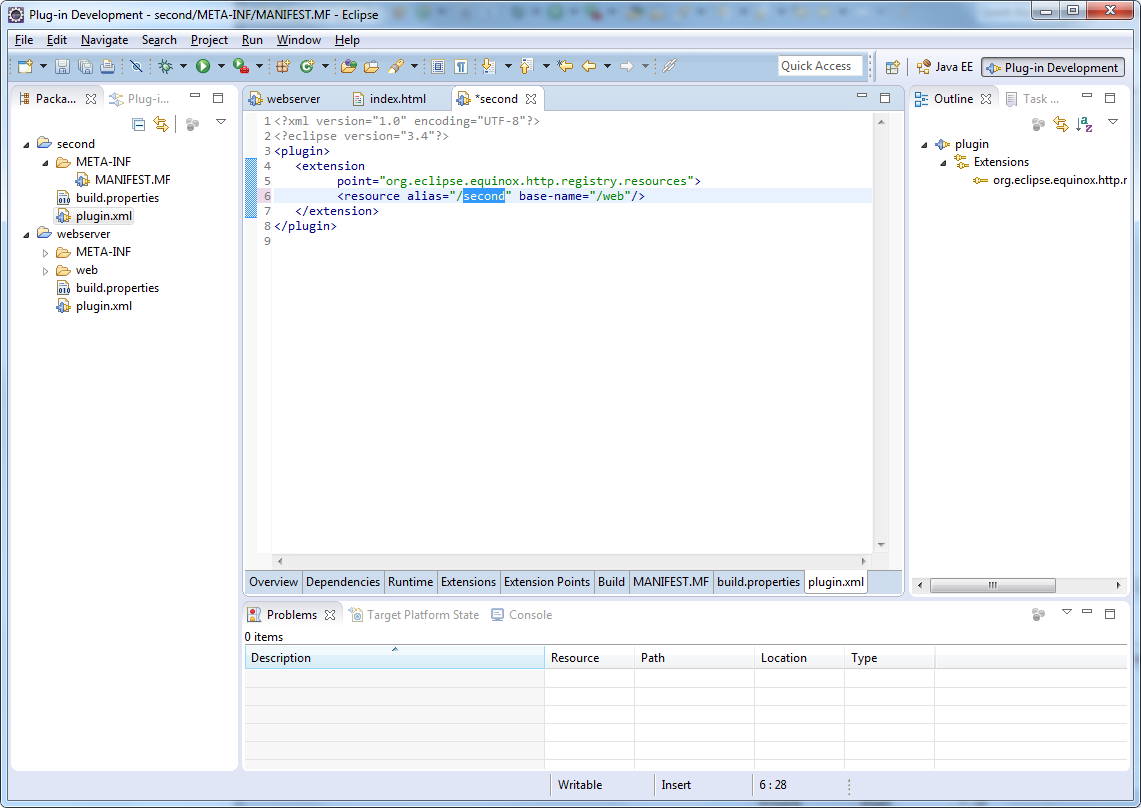
 Then we should update plugin.xml file by specifying a new url address for the second project. Two
projects can't have the same url. Double click on plugin.xml file. In the configuration editor
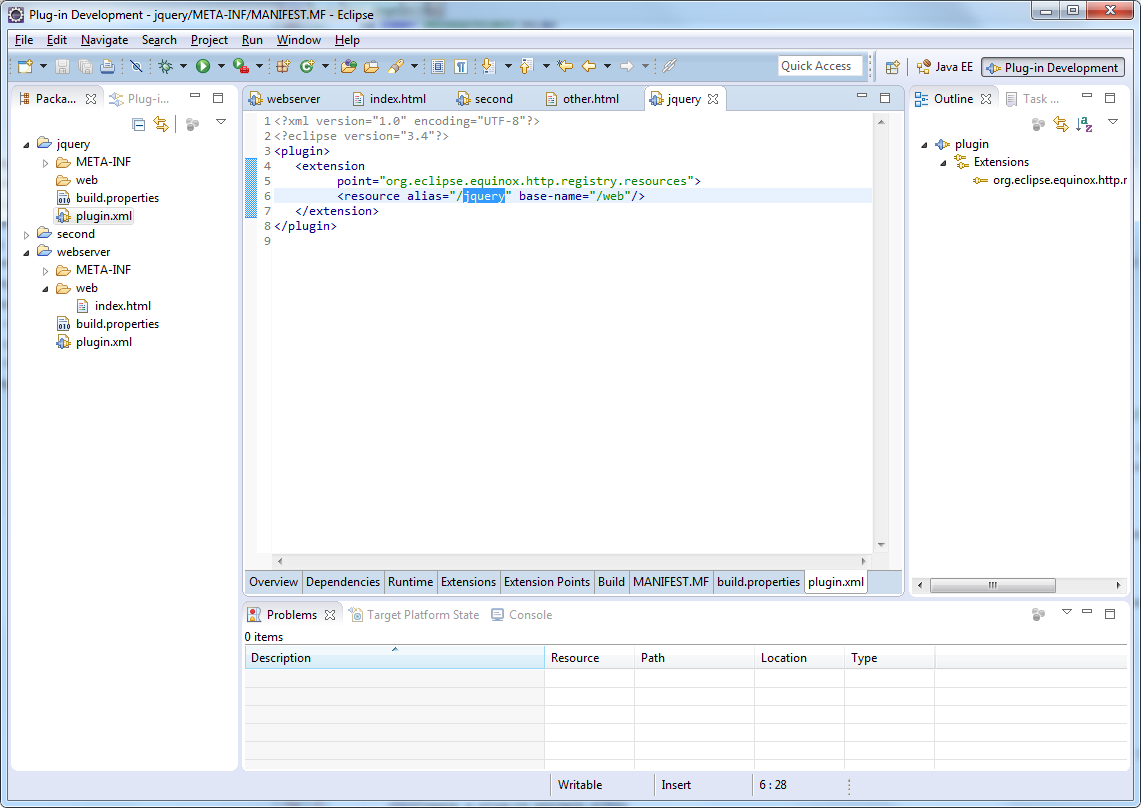
open plugin.xml tab. Then update alias attribute of the
resource tag. Let's name it "second". Don't forget to save the file after editing.
Then we should update plugin.xml file by specifying a new url address for the second project. Two
projects can't have the same url. Double click on plugin.xml file. In the configuration editor
open plugin.xml tab. Then update alias attribute of the
resource tag. Let's name it "second". Don't forget to save the file after editing.
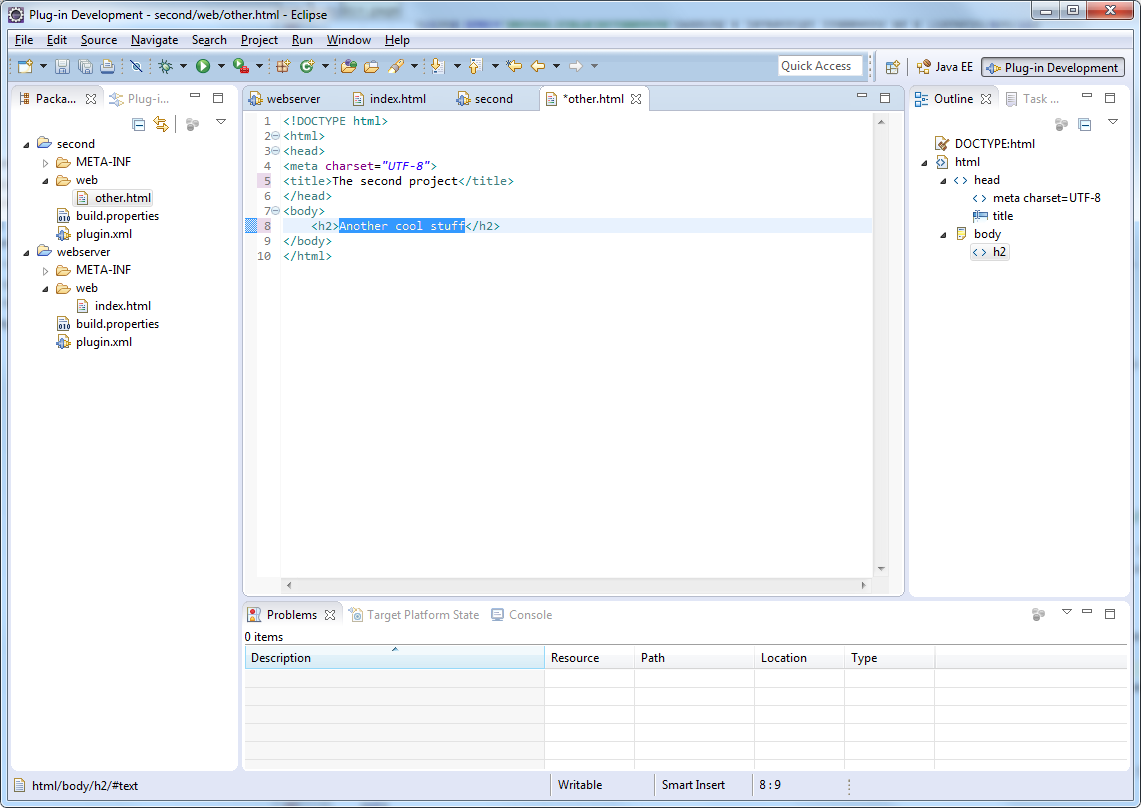
 The next step is creating a web folder in the project and putting an html file into it.
Remember we have mapped web folder to /second URL address.
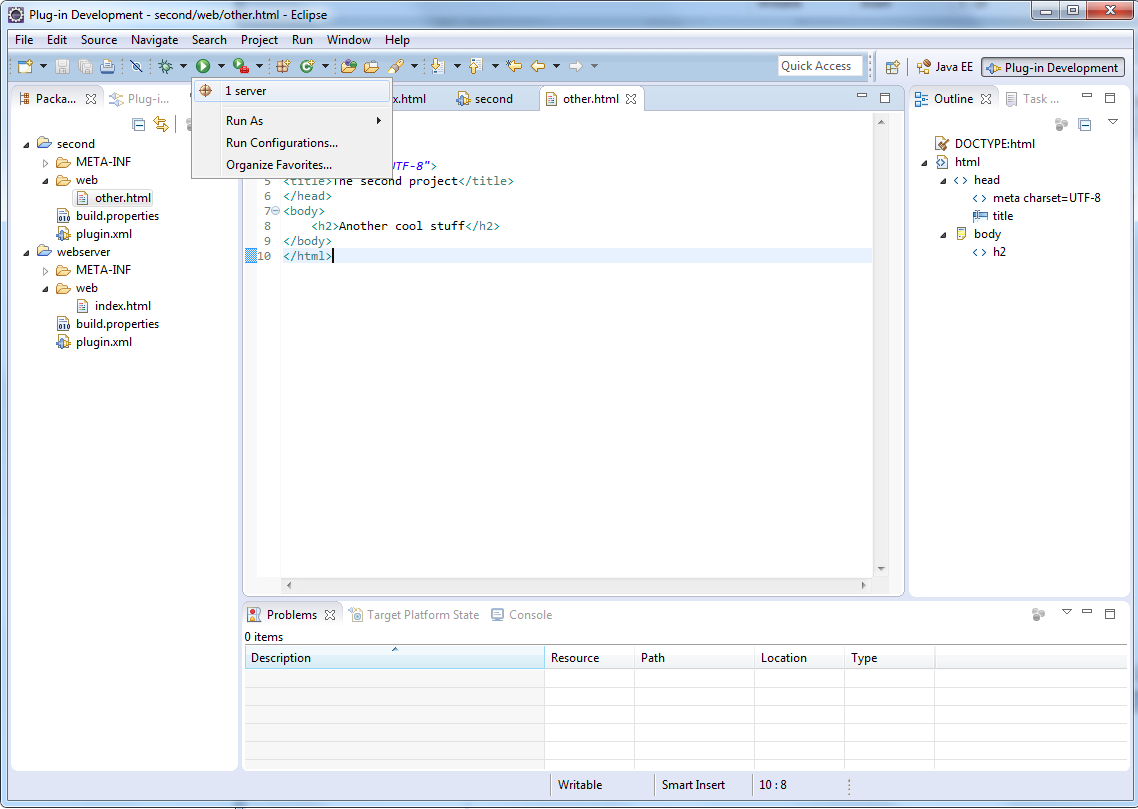
 The second project has been added to web plug-ins host automatically. When you run the eclipse server the second project
would be already in the address space. We have nothing to do anymore for it. So let's try it. Run the server.
The second project has been added to web plug-ins host automatically. When you run the eclipse server the second project
would be already in the address space. We have nothing to do anymore for it. So let's try it. Run the server.
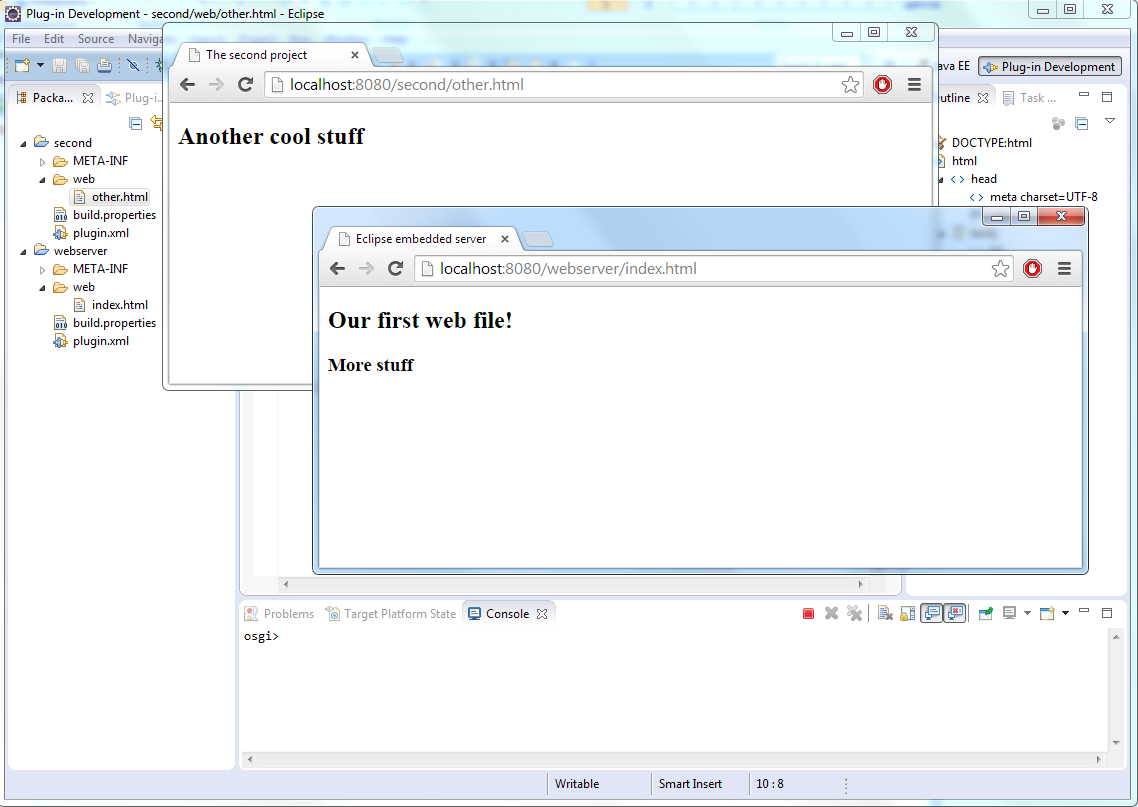
 Open the browser and see them both working.
 Stop the server (by clicking Terminate button in Console window).
6. Adding jquery framework as a plugin
Create new web plug-in project named "jquery". Do the same the steps that we made for the previous project. They are:
- Create a plug-in project.
- Make it a singleton
- Copy plugin.xml file from an existing project to the new one.
- Set the alias property in plugin.xml to "jquery"
- Fix build.properties file warning
- Create web directory.
 Whatever we put in web folder will be mapped to /jquery web address.
Now, let's download the jquery library from jquery download page into our web folder. We will map the library into our server web space.

Let's test jquery is working. Open the file other.html of our second project. Add there the following code:
	<script type="text/javascript" src="../jquery/jquery-2.1.1.js"></script>
	<script type="text/javascript">
		$(document).ready(function(){
			$('#message').text('jQuery is working');
		});
	</script>
You should also add an h3 element to the html. Don't forget to save the file.
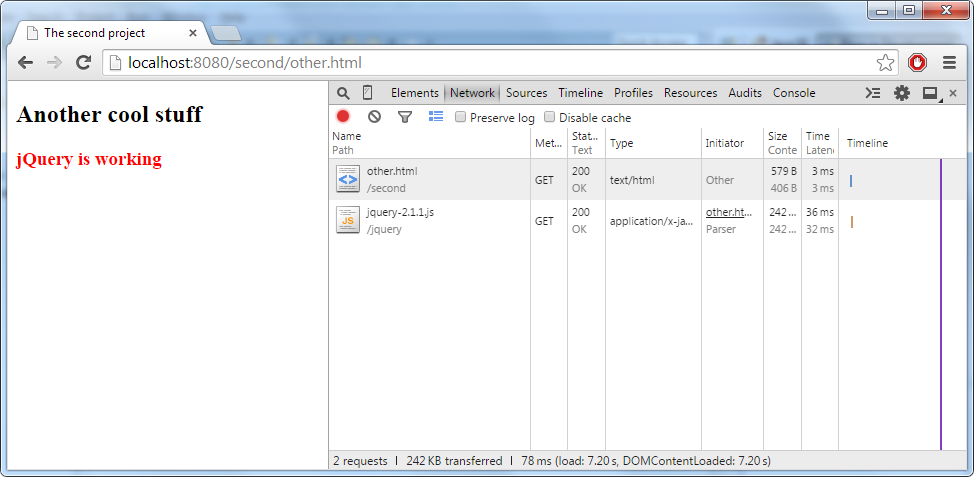
 Run the server (Run button on the toolbar).
Open in browser http://localhost:8080/second/other.html. See the jquery library has been loaded.
Run the server (Run button on the toolbar).
Open in browser http://localhost:8080/second/other.html. See the jquery library has been loaded.
 Stop the server.
We have moved our javascript library out of the project code. This is a good practice keeping libraries aside.
Go to Third part